Buttons, Badges & Pins - People Power Blog

A Perfect Spring Soundtrack and Custom 1" Butto...
If you are looking for a great-sounding Spring soundtrack, we think we've got it! Our friends at Fallen Love Records recently released Secret Gardens, a compilation of picnic pop featuring...
A Perfect Spring Soundtrack and Custom 1" Butto...
If you are looking for a great-sounding Spring soundtrack, we think we've got it! Our friends at Fallen Love Records recently released Secret Gardens, a compilation of picnic pop featuring...

Buttons for a Cause: The "More Than a Label" Sl...
A group of students from Acadia University is handing out buttons for a cause. They want these custom buttons to change the way people think about the clothing they buy and...
Buttons for a Cause: The "More Than a Label" Sl...
A group of students from Acadia University is handing out buttons for a cause. They want these custom buttons to change the way people think about the clothing they buy and...
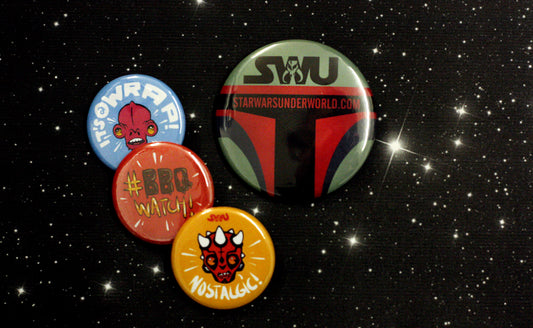
May The Fourth Be With You: The Star Wars Under...
Forget all the other days on the calendar, because today is the day that matters for Star Wars fans around the world. May 4th has come to be known...
May The Fourth Be With You: The Star Wars Under...
Forget all the other days on the calendar, because today is the day that matters for Star Wars fans around the world. May 4th has come to be known...
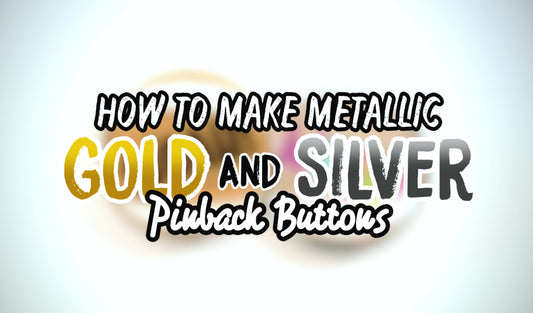
Making Metallic Silver & Gold Buttons with Dura...
We're really excited about making metallic gold and silver buttons with Dura-Lar!! Using Dura-Lar Film is the easiest way to make Do-It-Yourself buttons that look lavish and luxurious. In this...
Making Metallic Silver & Gold Buttons with Dura...
We're really excited about making metallic gold and silver buttons with Dura-Lar!! Using Dura-Lar Film is the easiest way to make Do-It-Yourself buttons that look lavish and luxurious. In this...
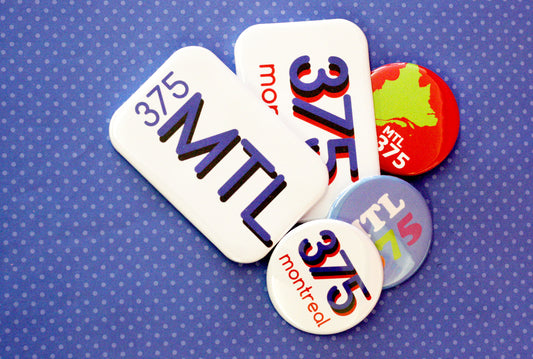
Celebrate Montreal 375 With Buttons and Magnets!
Happy Birthday Montreal! You don't look a day older than 374! :) In recognition of your big day, we decided to celebrate Montreal 375 with buttons and magnets. Our super...
Celebrate Montreal 375 With Buttons and Magnets!
Happy Birthday Montreal! You don't look a day older than 374! :) In recognition of your big day, we decided to celebrate Montreal 375 with buttons and magnets. Our super...

Great Ideas: Buttons for Your Wedding!
Wedding planning season is here! We are always thrilled about the beautiful ideas that come through the shop at this time of year (like these beautiful buttons for the Wedding...
Great Ideas: Buttons for Your Wedding!
Wedding planning season is here! We are always thrilled about the beautiful ideas that come through the shop at this time of year (like these beautiful buttons for the Wedding...