Buttons, Badges & Pins - People Power Blog
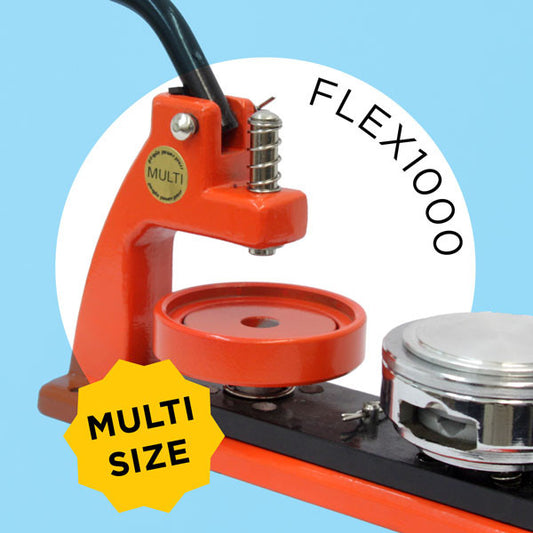
FLEX1000 and FLEX2000 Hobby Button Maker Manuals Now Available Online June 16 2017
If you have a FLEX1000 or FLEX2000 hobby button maker and have lost the instruction manual that was sent with your start-up kit, don't worry! You can now download the instruction manual for each model here.
Download the FLEX1000 Instruction Manual (No Rings) here.
Download the FLEX2000 Instruction Manual here.
Just a note about any reference to rings. Our newer models don't require the plastic rings so if you see any reference to them, but you never received the rings, don't worry. Your version of the machine does not use plastic rings. Not sure, give us a call and we can help you out.
Keep it paperless and access online whenever you need it or print it out if you'd like a tangible copy. The choice is now yours.
Even if you don't have one of our all-metal FLEX machines you can take a peek to walk through the steps and see how it works!
And for the visual folks out there, here are the Button Guy videos showing you the FLEX1000 and FLEX2000 button makers in action. See how both hobby pin machines work:
Read more »
Custom Rounded Rectangle Buttons are Here: A Smooth and Sleek Option for Name Tags June 07 2017
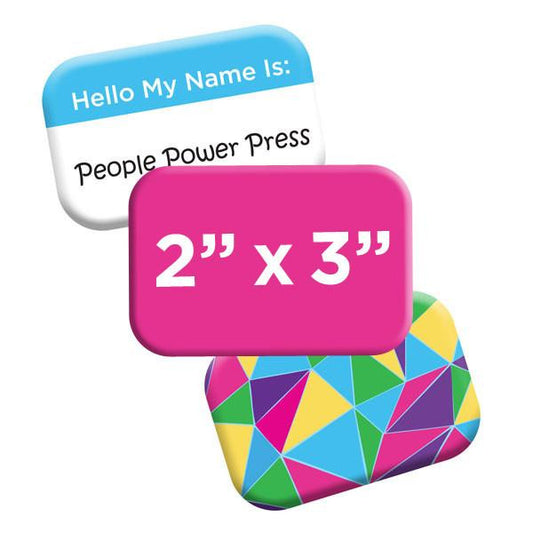
It’s not often that a new pin shape is introduced, but there is a new button kid on the block. Helloooo Custom Rounded Rectangle Buttons!
This button has rounded corners, making it a smoother and sleeker option for name tags, poster art, marketing and campaign buttons.
Many Great Uses for the Rounded Rectangle Button
These are just a few great choices for this new pin shape:
Name Tags - Rounded rectangle buttons make great durable event name tags for workshops, trade shows and conventions. They can double as great event souvenirs.
Marketing Buttons - Available as 1-3/4” x 2-3/4” pinbacks, these buttons are the same size as a business card, which makes this button an obvious choice for marketing your business.
Poster Art Buttons - This new pin shape is a perfect choice for poster art buttons because of their layout and retro design.
Two Sizes Available!
The new rounded rectangle button comes in 1-3/4” x 2-3/4” and 2” x 3” sizes. The smaller size is the same size as a business card. The larger size gives you a bit more room to make your message stand out.
A Perfect Choice for Vertical and Horizontal Layouts
The rounded corner buttons are available as vertical or horizontal pins. These layouts may be more suitable for logos and designs that are also have vertical or horizontal designs.
Now you get a rounded corner without having to adapt your design to a circle or oval shape and possibly losing part of your artwork.
But if you are looking for something with a harder edge, be sure to check out all our custom button sizes so you can make the choice that best suits your design!
Read more »
Say it With a 2” x 3” Rectangle Fridge Magnet: Great for Personal Statement Gifts, Promotional Giveaways and More! April 24 2017
The 2" x 3” Rectangle Fridge Magnet is a great versatile choice. A popular size for family photos and personal statement gifts, this magnet is a favourite souvenir shop idea and for real estate promotional giveaways too.
See the process of making a 2" x 3” Rectangle Fridge Magnet in this new video from The Button Guy. This video will show you important tips to successfully make magnets with the 2” x 3” rectangle button maker.
This essential advice includes how to cut your artwork, how to properly apply the peel n’ stick magnet and why it is important to let your magnets sit on a flat surface for 24 hours before hanging them on another surface.
Once you see how easy it is to make 2" x 3” Rectangle Fridge Magnets you will be able to get busy. Some projects include:
- Decorating your locker or fridge with family photos and other art
- Making personalized statement gifts for friends and family
- Creating promotional giveaways for your business to hand out to clients and at trade shows and conferences
- Designing your artwork like a postcard for your city's attractions for a great souvenir shop idea
To get started you will need the 2 x 3” Rectangle Button Maker Kit. This machine will also make pinback buttons so you can really have some fun! You will also need all the supplies to make 2 x 3” Rectangle Peel n’ Stick Magnets.
Loving the idea of these fridge magnets, but not ready to invest in a button maker? We can make Custom 2 x 3” Rectangle Magnets for you with the design of your choice. Check out the other custom magnet sizes we have available.
Read more »
Learn How to Make 2 x 3" Rectangle Pinback Buttons March 23 2017
Rectangle pinback buttons are a neat shape and lend themselves well to making name tags, accommodating rectangular logos or photographs, and are awesome for fridge magnets too!
We love rectangular pinback buttons, and thought that you might be just as excited as we are! Check out this video courtesy of The Button Guy on How to Make 2 x 3" Rectangle Buttons!
Interested in making some of these yourself? Click on the link to find Parts & Supplies for 2" x 3" Rectangle Pinback Buttons on our website, or get more info on the 2" x 3" Rectangle Hand Press that was used in the video :)
We also carry parts and hand presses for other sizes of rectangle pinback buttons including 1-3/4 x 2-3/4", and 2-1/2 x 3-1/2".
Rather have us make some buttons or magnets for you? Cool! We also offer Custom Rectangle Buttons in a variety of sizes. Click on the link or send us an email to find out more :)
Read more »
Help with a sticky Graphic Punch for Button Making December 03 2013
Graphic punches are used for circle cutting. A question we get over and over is why does my graphic punch get stuck, or not work as cleanly as it should, and what can I do about it?
Usually this is caused by cutting stickers. This can can cause the punch to get sticky or gummy. There is an easy and low maintenance fix for this. You do NOT need to take it apart to clean it.
Take a piece of of tin/metal which you can buy at any hardware store, or use the shell part for a rectangle or square button if you have one. (also known as a shim.)
Just slide it in the punch where you would normally put the paper.
...and quickly insert it a few times to get rid of the gum.
This should clear off any of the stickiness and start cutting properly again. You should do this periodically to ensure the sharp cutting of your graphic punch.
Happy Punching!!